 Hi there! Hope you all had a wonderful Thanksgiving. With the holidays drawing near, some of you may be looking for some gift ideas. Now I am someone who LOVES giving gifts, however that can get expensive…so I’m a big fan of making gifts! This also gives me a chance to personalize gifts for them.So I bring to you the 12 days of DIY gifts just in time for all of your holiday gift giving needs.
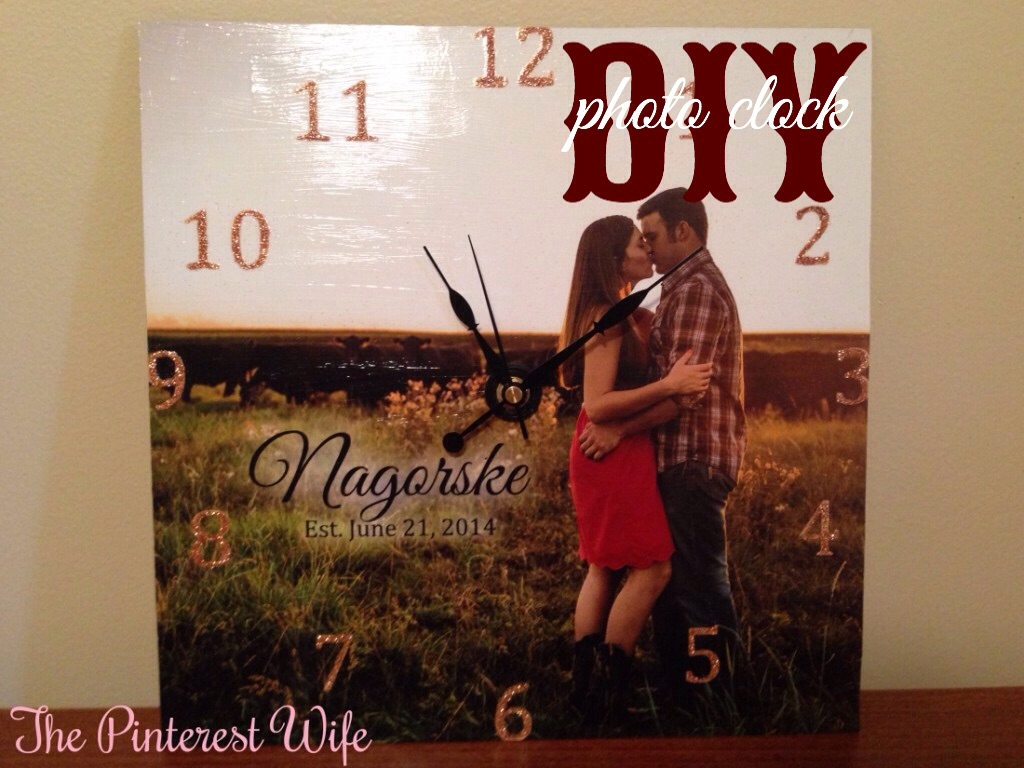
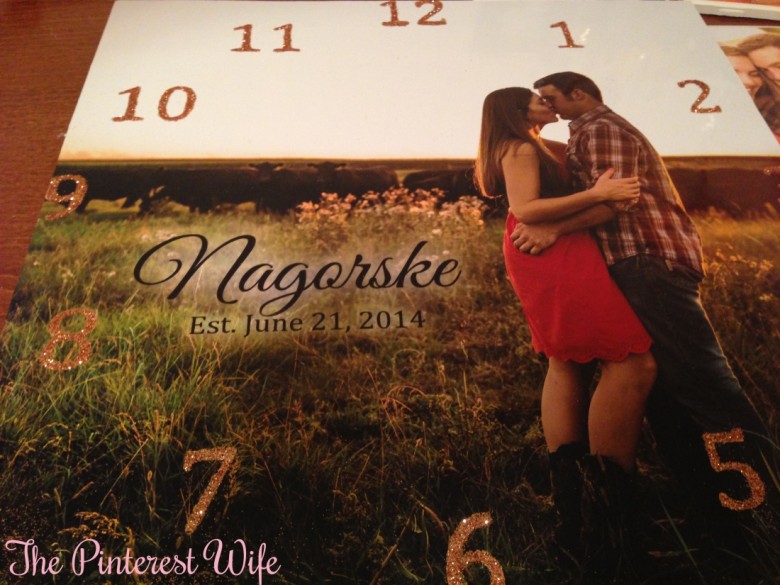
Day 1: This clock was something I had pinned a few years ago and just never got around to making for someone. One of my sorority sisters got married this summer and I thought this would be the perfect gift for them…not something you could buy in a store, but something they could display in their house for [[hopefully]] a long time. The hardest thing about this project was adding the clock template & words to the picture in Photoshop, prior to having it printed. You could totally nix this step and just use number stickers, but I like to make things more complicated for myself! Also, how CUTE are they?! I also made them coasters because their engagement pictures were too cute for me to just pick one. I’ll be doing a tutorial on those as well during these 12 days!
Materials
- 12×12 MDF board (mine was 1/8 inch)
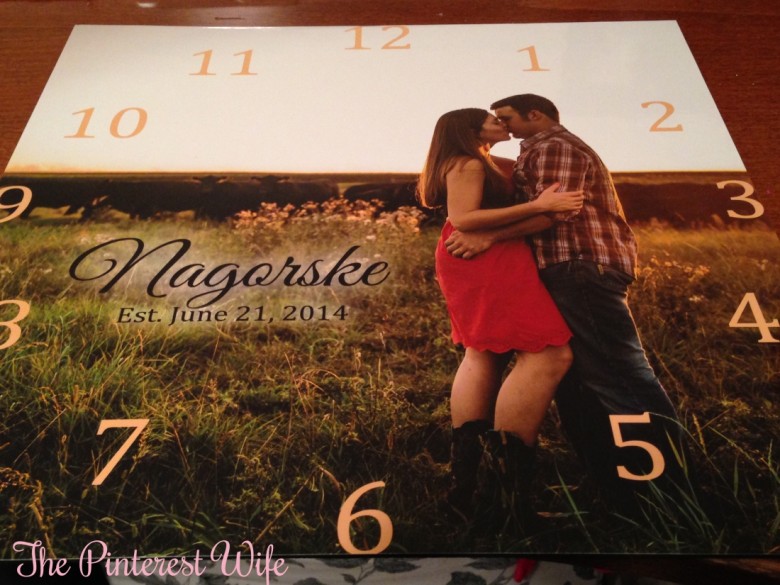
- 12×12 photo (I had a 12×16 printed and then just trimmed it up, because that’s how Costco printed them) * you can choose whether you want to do all the editing in Photoshop or if you want to use stickers)
- Mod Podge
- Paint to match your picture
- Clock Parts
- Optional: glitter, stickers, other embellishments
Instructions
- Like I said, I started by putting this picutre into photoshop and added their last name and wedding date and some fancy glow behind it. By NO means am I a photoshop buff. I only use it for blog related things…I don’t even use the full version of it. I also added in my numbers so that when I printed the picture I was all good to go. *Note: If you plan on making multiple as gifts, I would reccommend saving your clock template as a layer that you can reuse so you don’t have to go through the process of measuring it out accurately each time.*
- Find the center of your board and drill a hole big enough for your clock parts to fit through
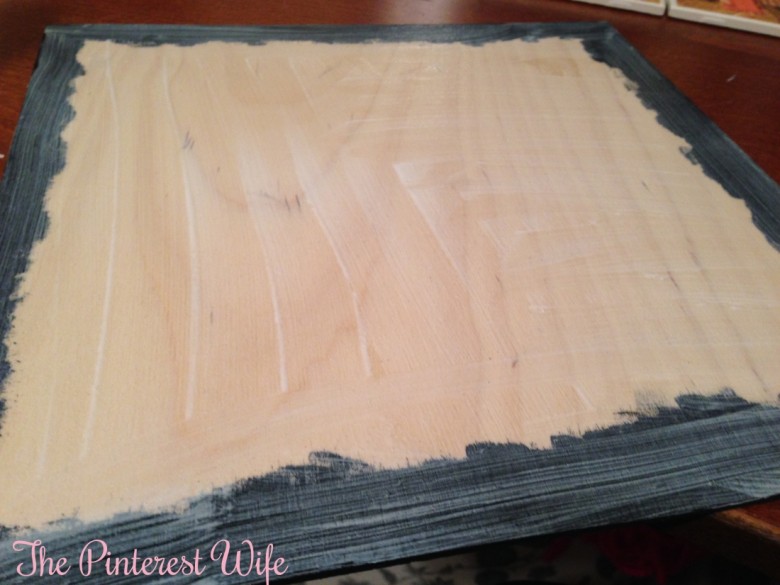
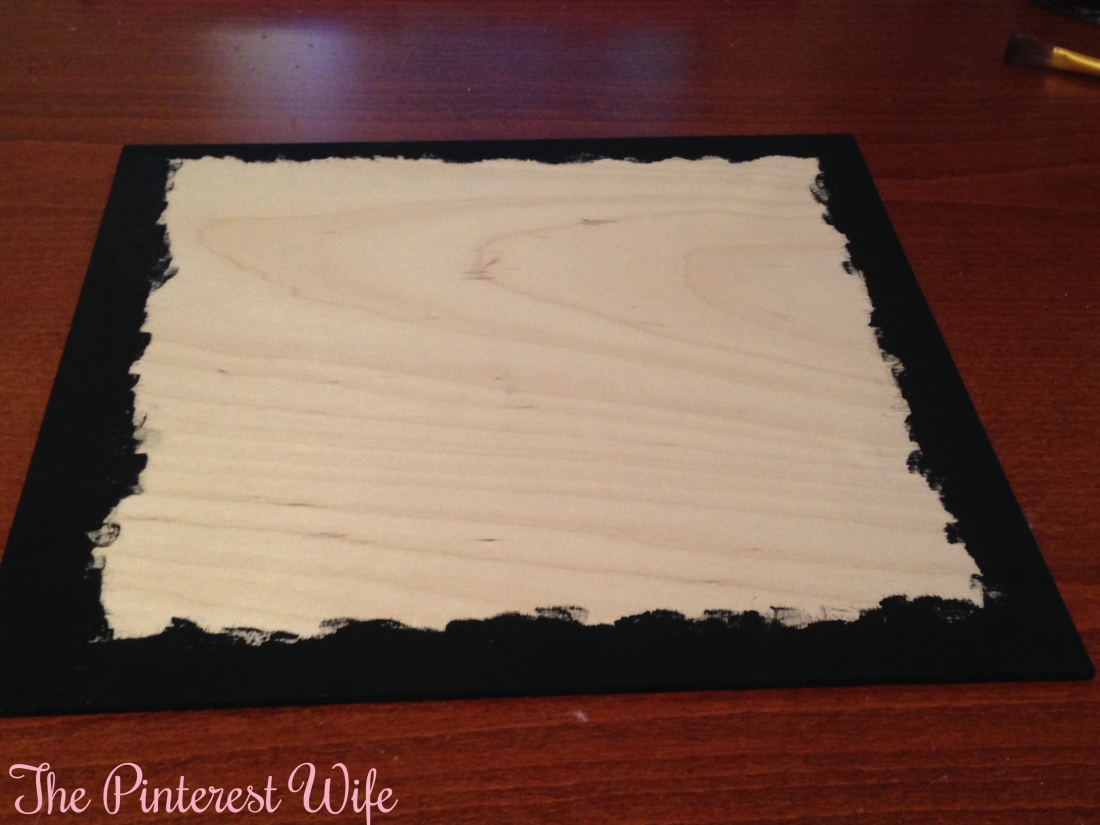
- Paint the edges of your board so you don’t see any edges when put the picture on

- Put a layer of Mod Podge on the board
- Place your picture on top
- Optional: add glitter to you numbers or any other embellishments you want on the clock
- Add a layer of Mod Podge to the top of your clock, ensuring that you’re covering the edges as well to seal it all in, and allow it to dry
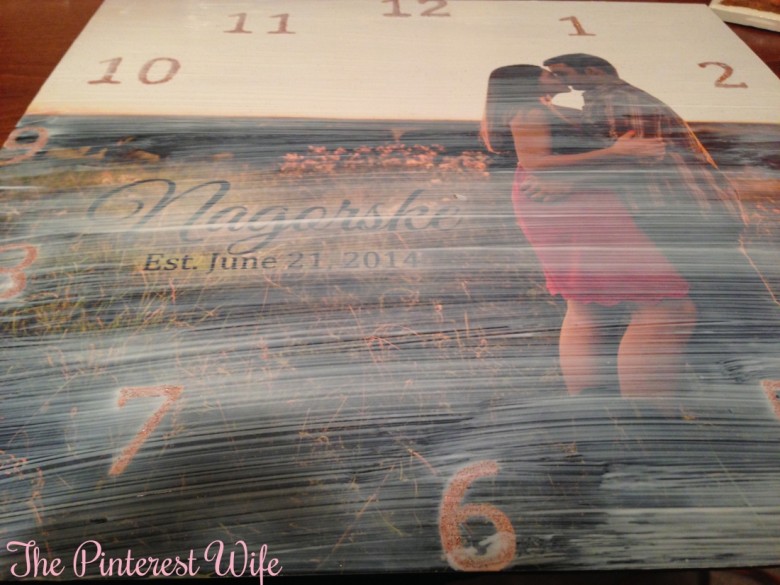
- Put one more layer of Mod Podge on
- Poke a hole through your picture in line with your drilled hole
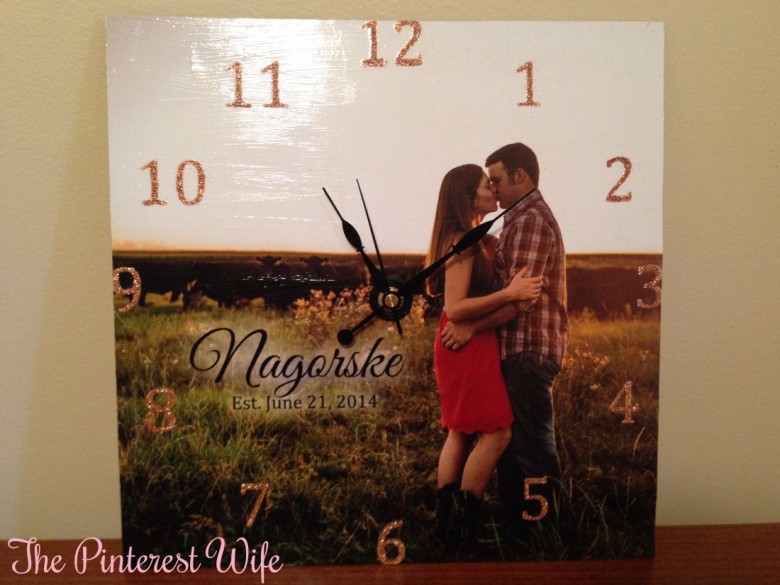
- Assemble your clock parts according to the directions,
- Set the time and VOILA!


See you tomorrow for another DIY gift!