On the second day of Christmas my true love game to me…………
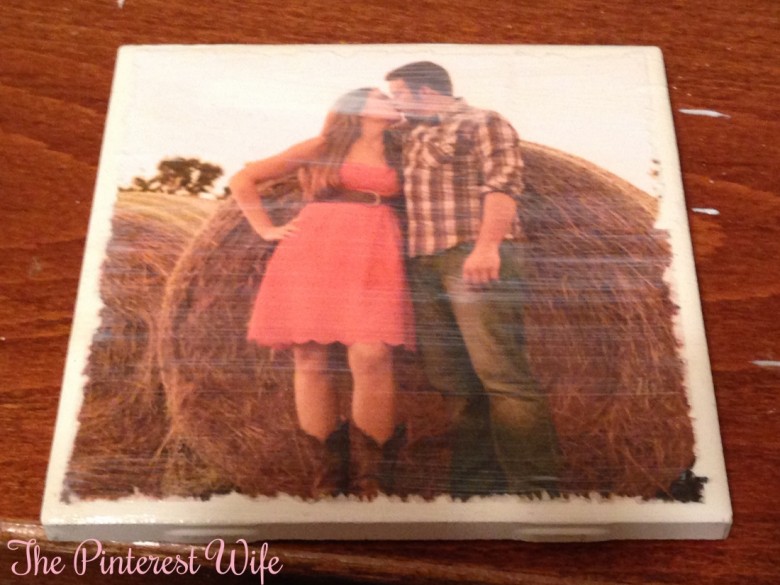
Photo Coasters! These gifts are very quick and incredibly easy to make [depending on the type of tile you choose to use, they can be quite budget friendly as well.]
Materials
- 4″x4″ tile squares
- Pictures printed on PAPER or TISSUE
- Mod Podge
- Foam Brush
- Clear Bumpers/Felt Circles
- Clear Acrylic Spray
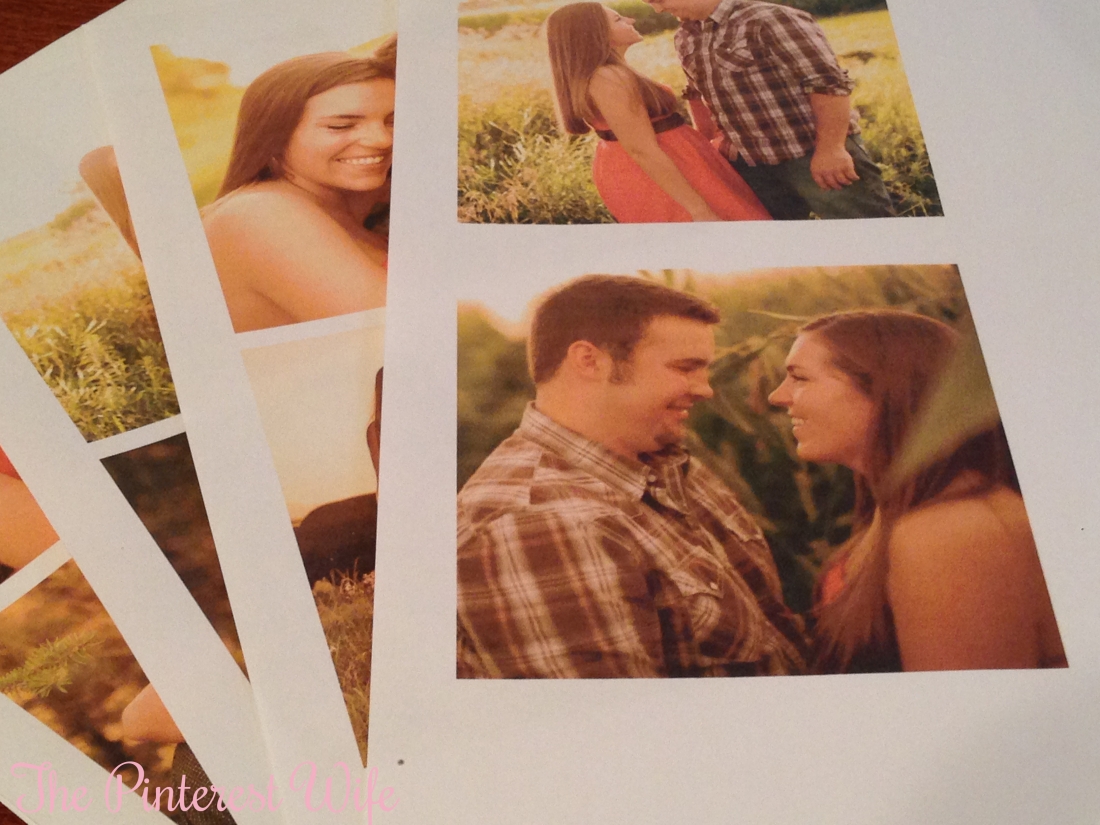
- Format pictures to 4″x4″ and print on regular paper
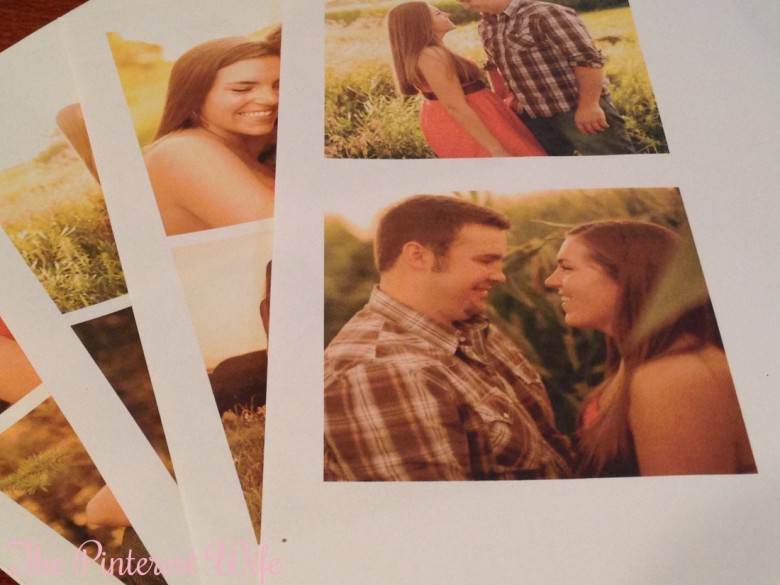
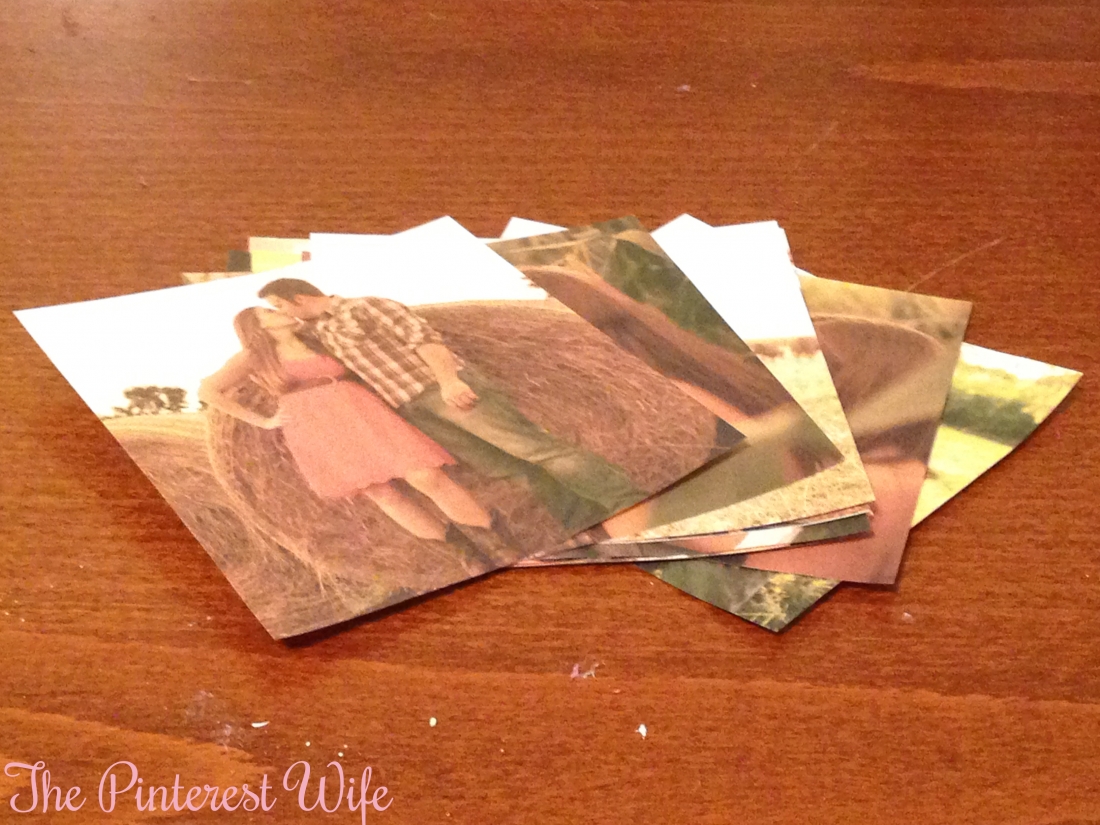
- Cut out pictures

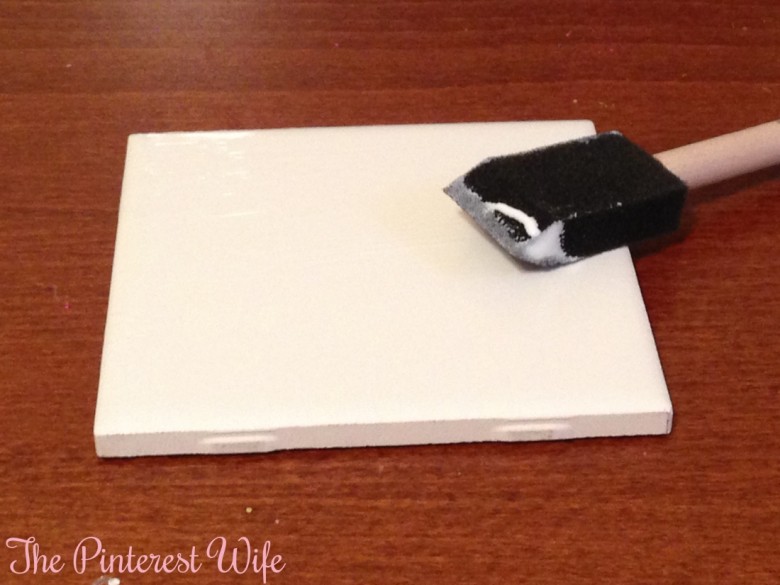
- Apply a thin layer Mod Podge to the tile
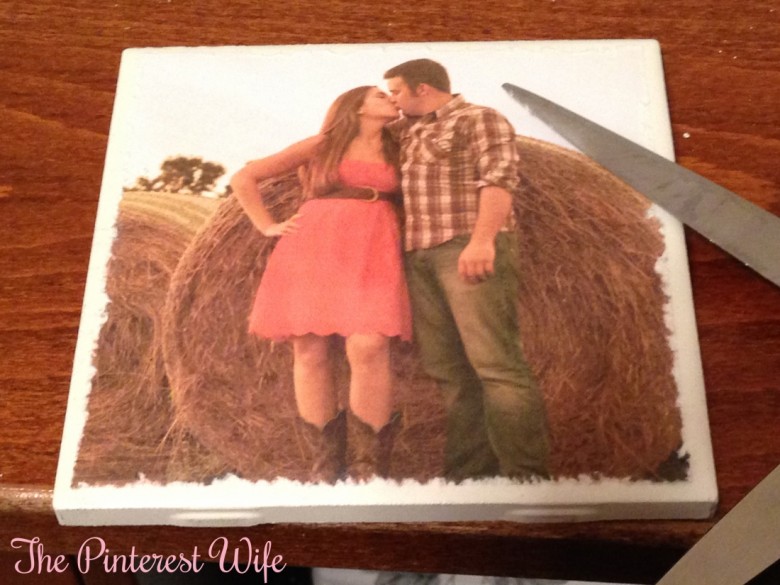
- Center picture on tile

- Using a pair of scissors, run one blade along the edges using light to medium pressure to distress the edges. Continue until the edges are distressed to your desire.
- Apply 2 more coats of Mod Podge over the picture allowing to dry in between coats.
- Stick one clear bumper or small felt circle in each corner on the back of each coaster
- Spray 1-2 coats of the Acrylic Sealer to make your coasters water resistant

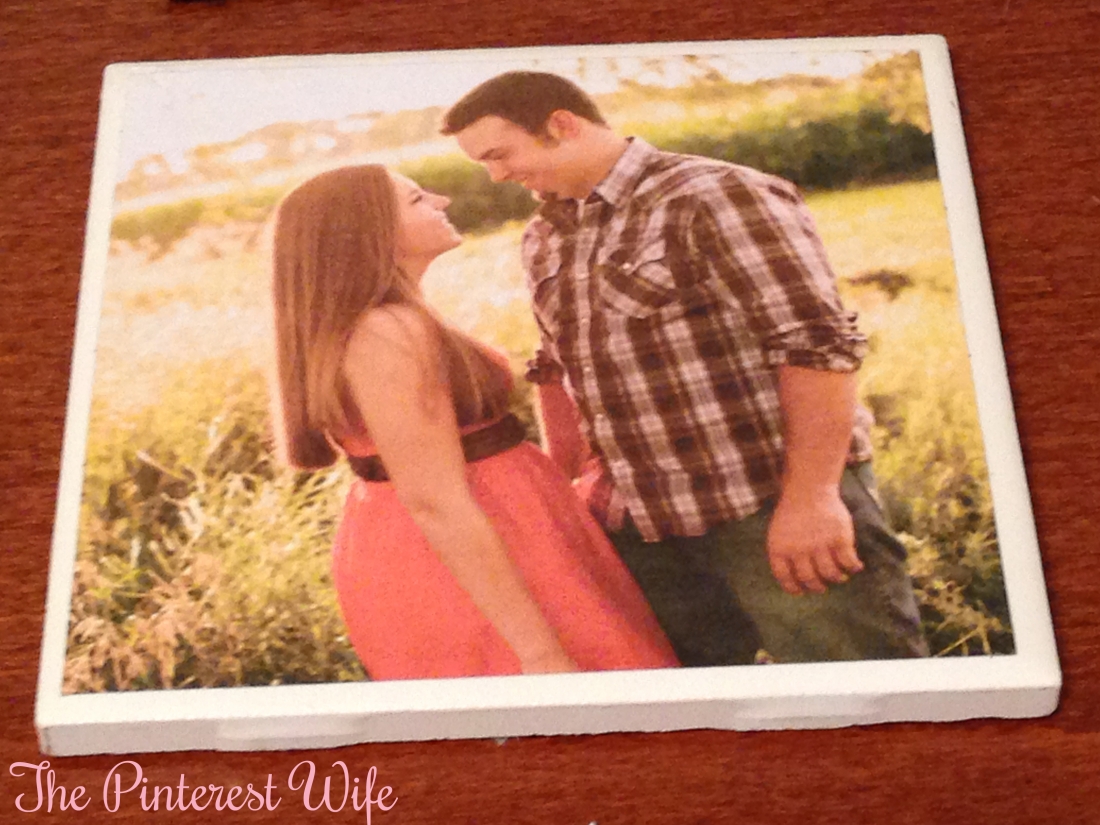


Any that’s all folks! I forgot to take a picture of all of the ones I made for her together…but I think you get the idea of what they end up looking like. *PS How stinkin CUTE are these two?!?1 Now you see why I had to make so many coasters…too many cute pictures to pick from!*
Side note: I would not recommend using regularly printed pictures (like on photo paper) to make these coasters. They make it much more difficulty to distress them and because the paper is thicker, you need to do several additional mod podge coats to make the coaster smooth. You could also print the pictures on tissue paper, which makes it much easier to distress and lends a much different look, but I, personally, liked the density in the images better when printed on computer paper. If you try something different, let me know, I’d love to hear how yours turn out!
See you tomorrow for another DIY gift!