
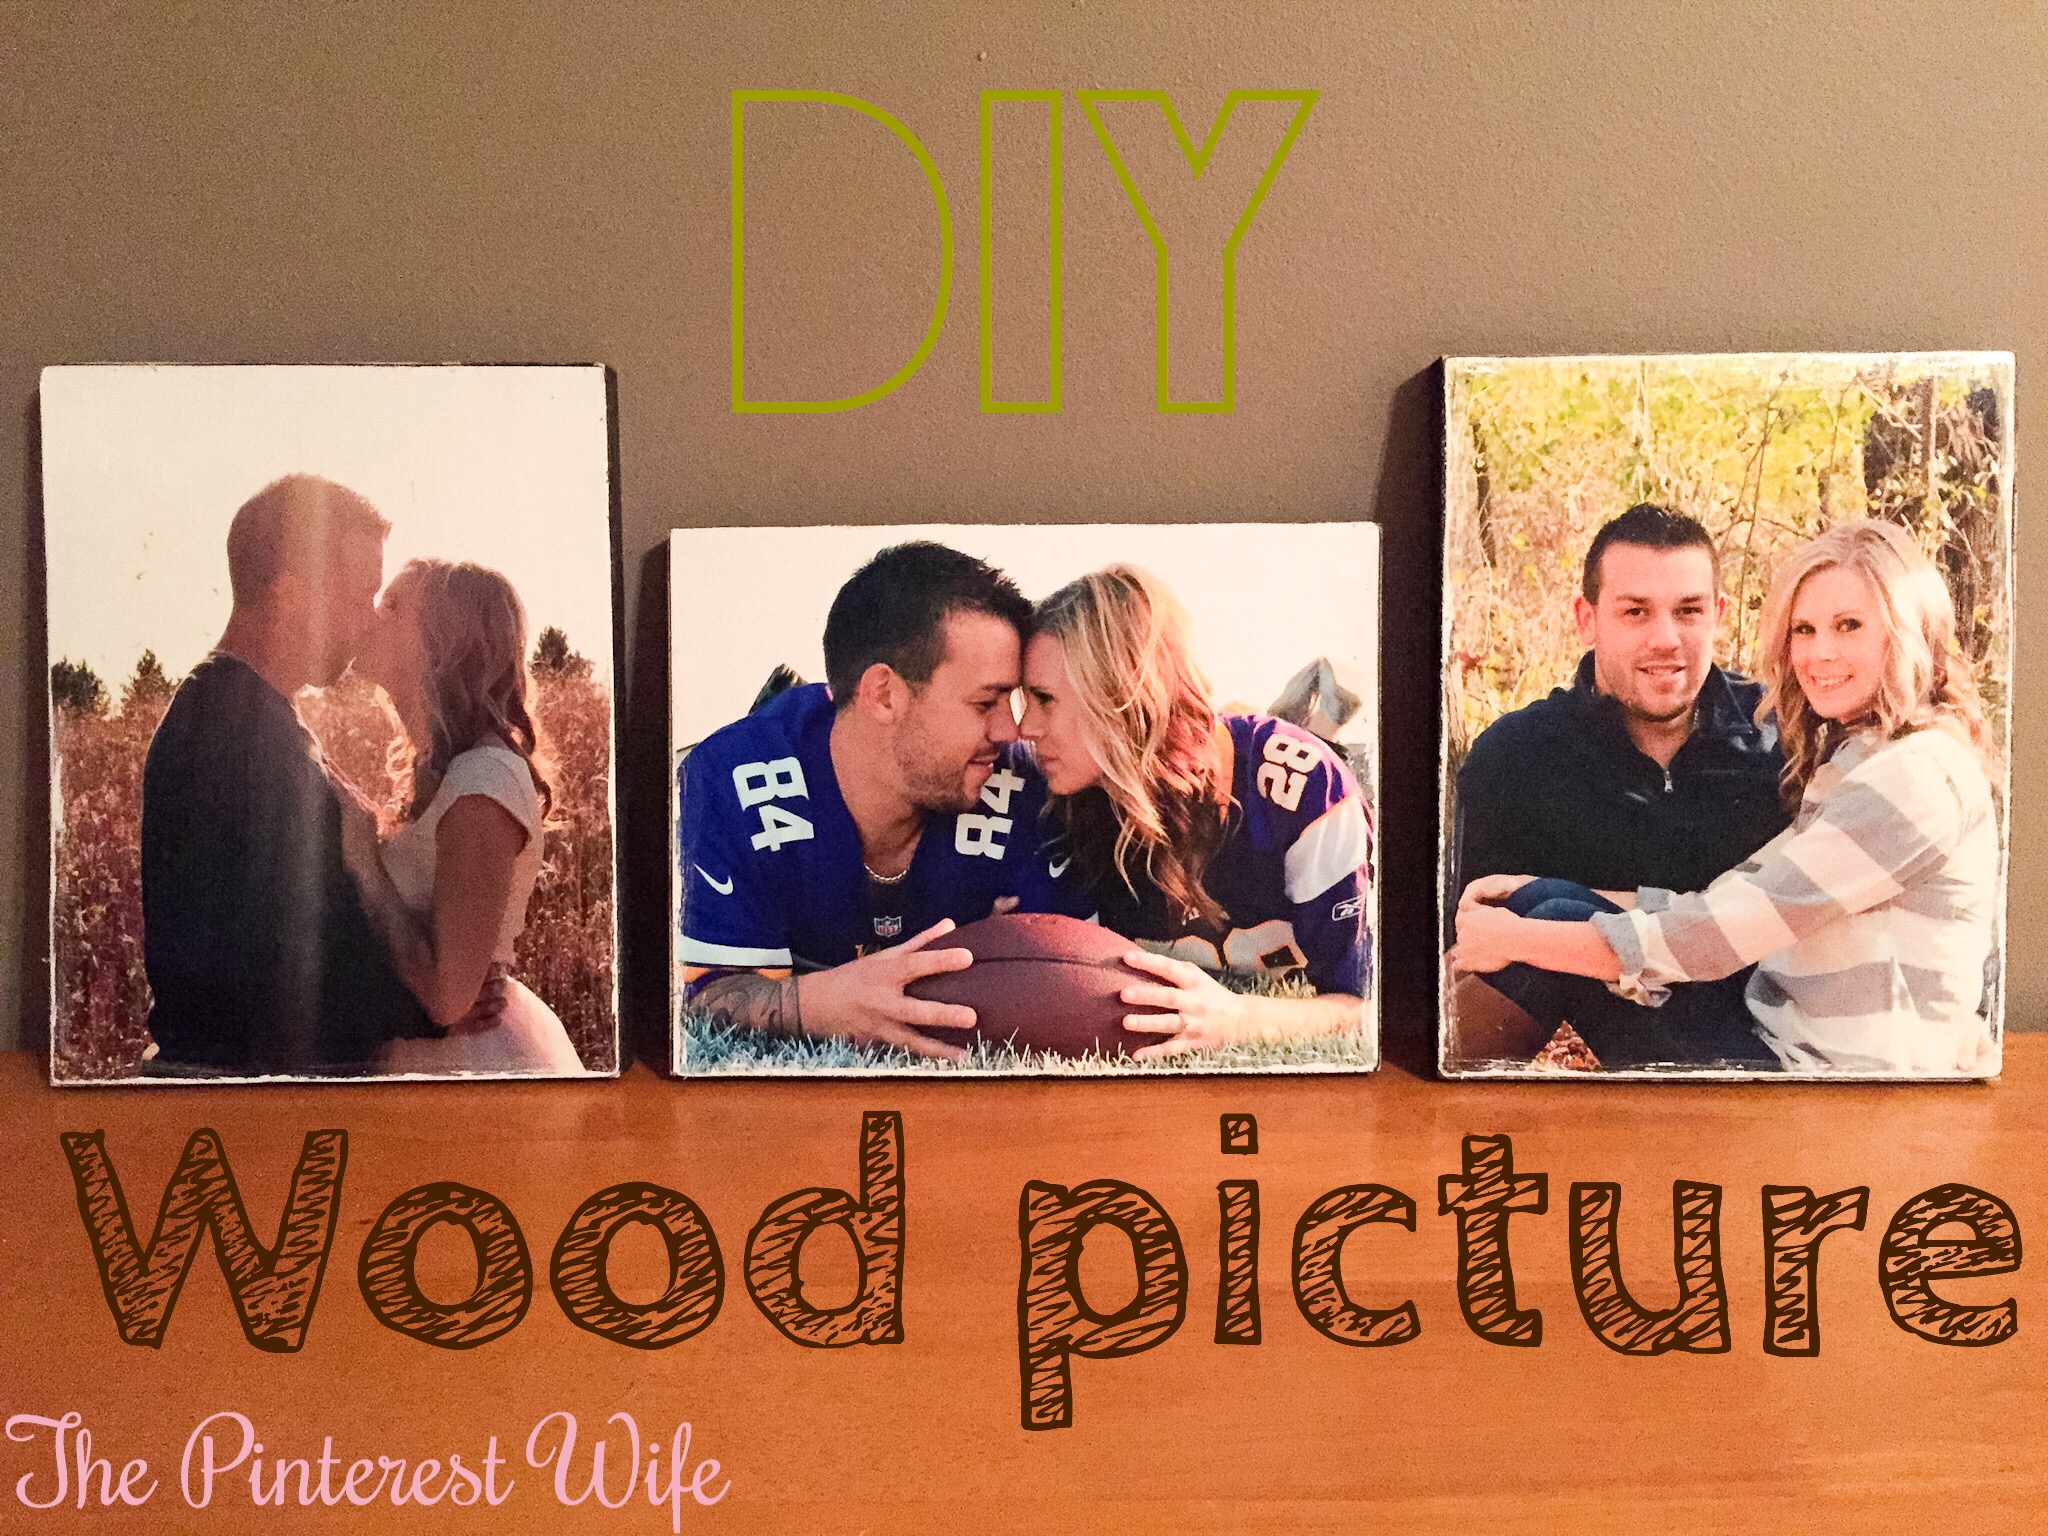
 Day 10!!! We’re in the double digits, holy moly! Can you guys believe there is only 1 week until Christmas?! WHERE did the time go? Well if you still have folks on your shopping list, do not fear, The Pinterest Wife is here with a few more DIY gifts that you can whip up in no time at all! There are tons of pins on making your own photo canvases and different materials to mount them on, but I have been waiting for a while to make these Wood pictures. The process for mounting it on wood and canvas are the same, so feel free to experiment with other things as well. This is a super quick project that is very difficult to mess up and will definitely be loved by everyone. My best friend is getting married in September and recently had her engagement pictures taken, so naturally I jumped on this opportunity to make these wood pictures for their home. I bought the wood at Home Depot and just had them cut a long piece down to 8×10’s. NOTE: even if it says it is 8″ or 10″ wide, MAKE SURE you measure it before you cut. We learned the hard way that they aren’t always precise, so save yourself and the guy cutting it for you, some time and measure before!
Materials:
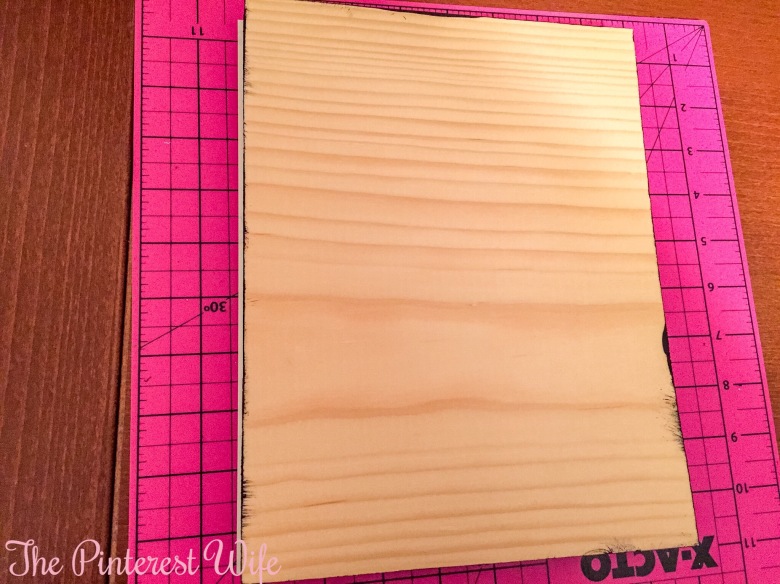
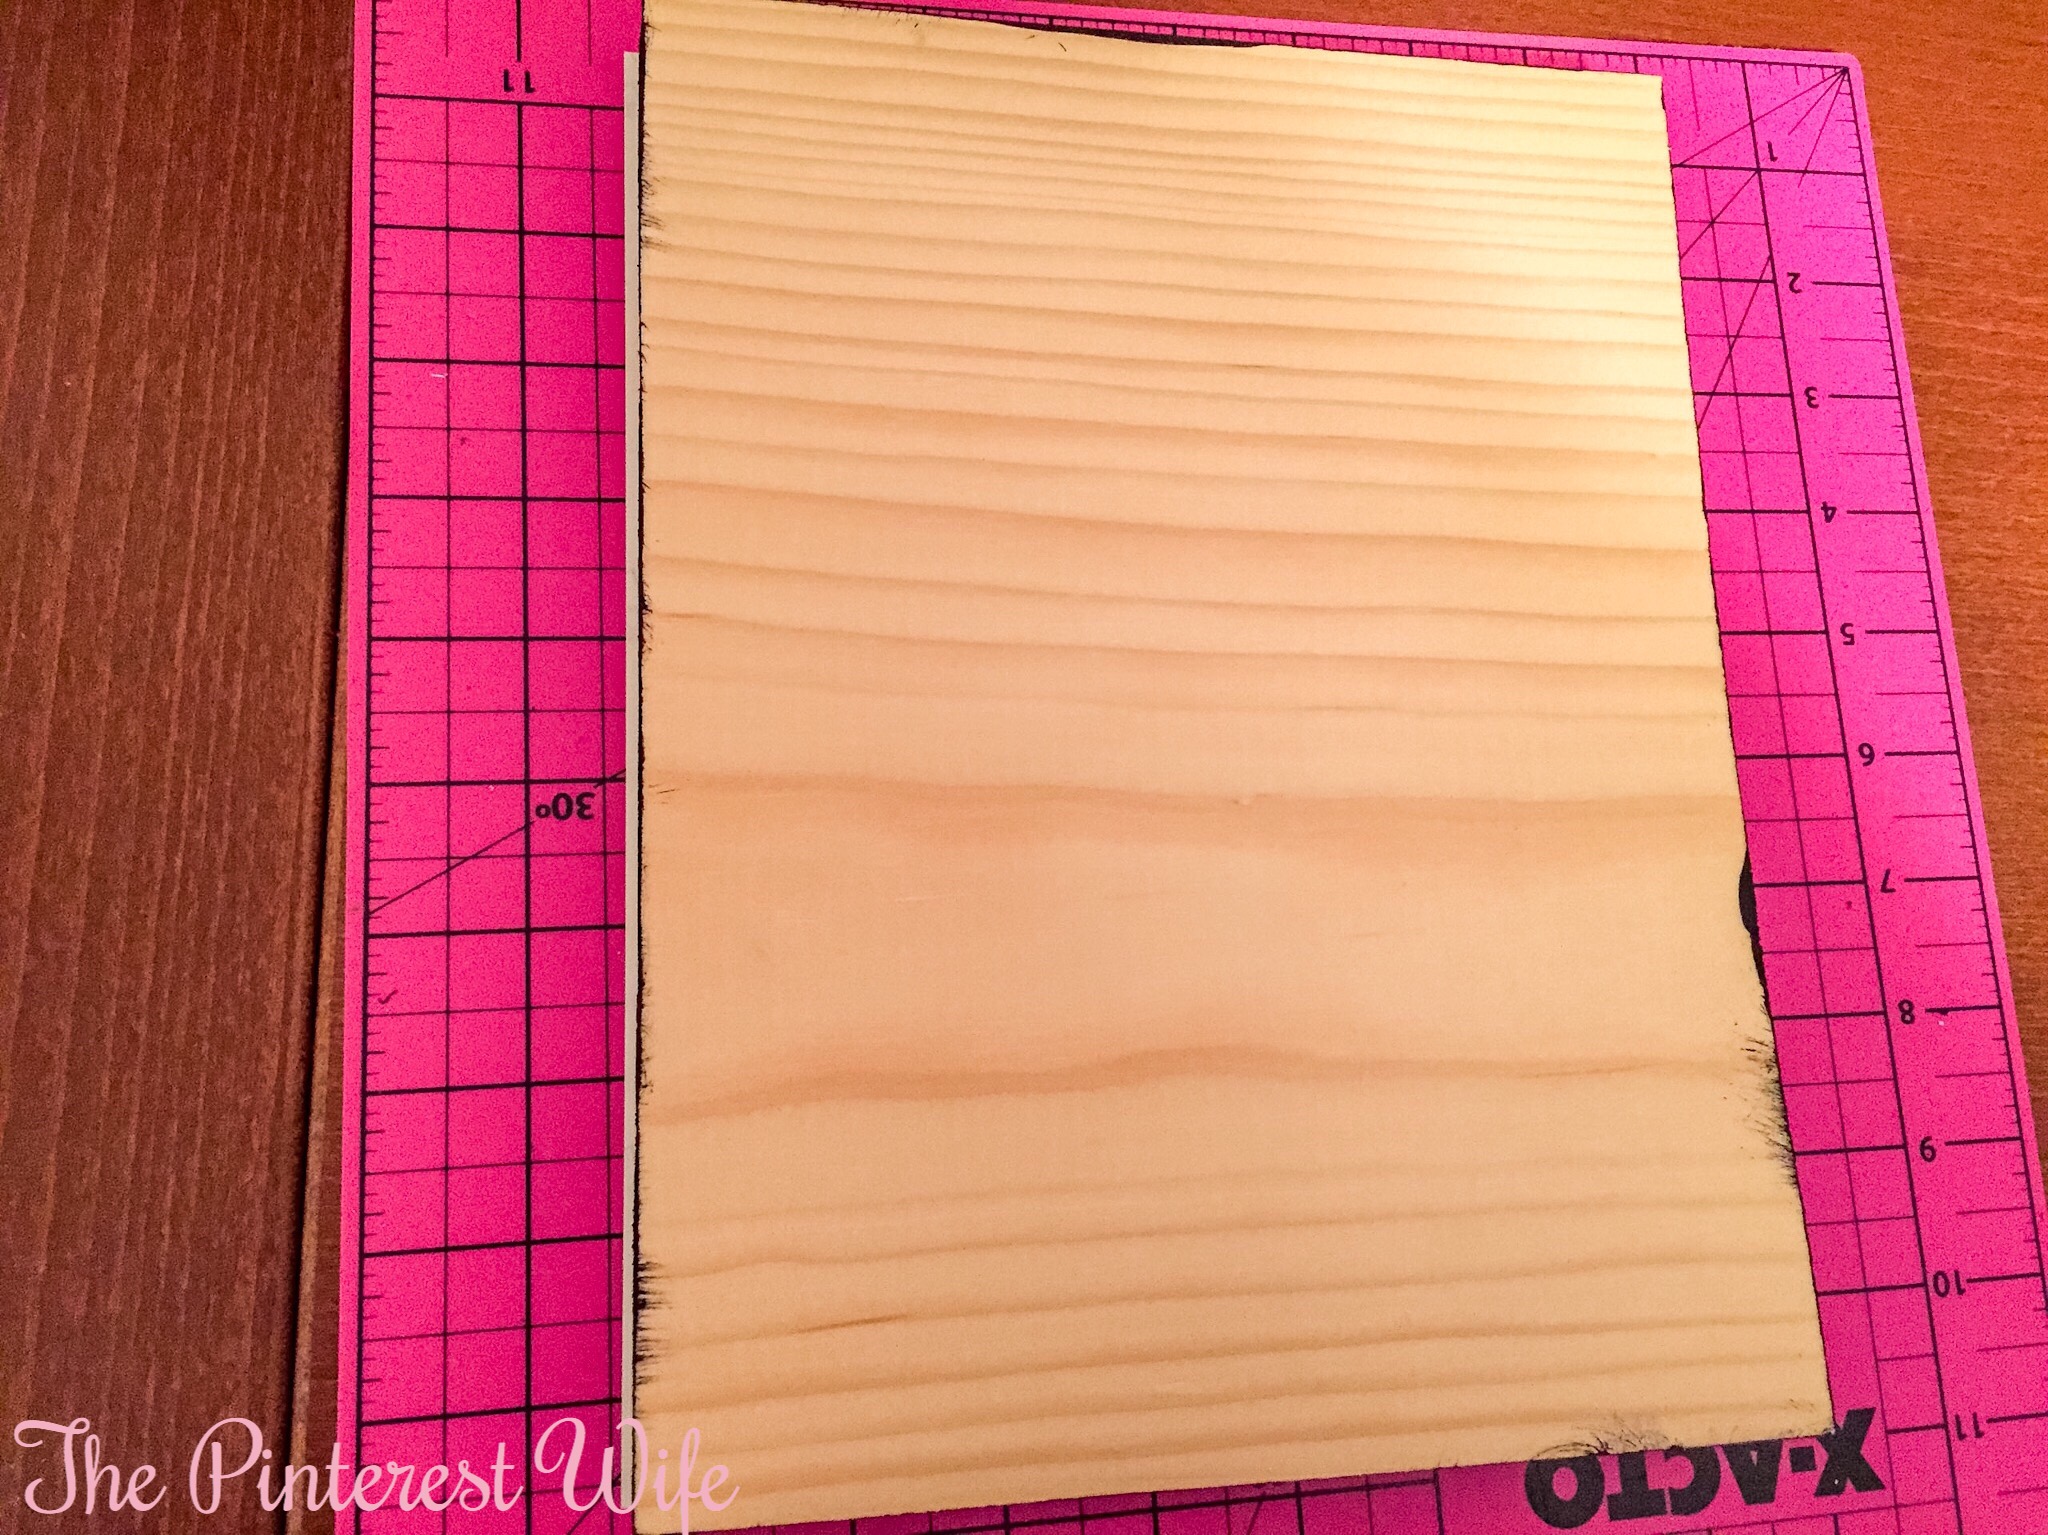
- 8×10 1″ wood piece
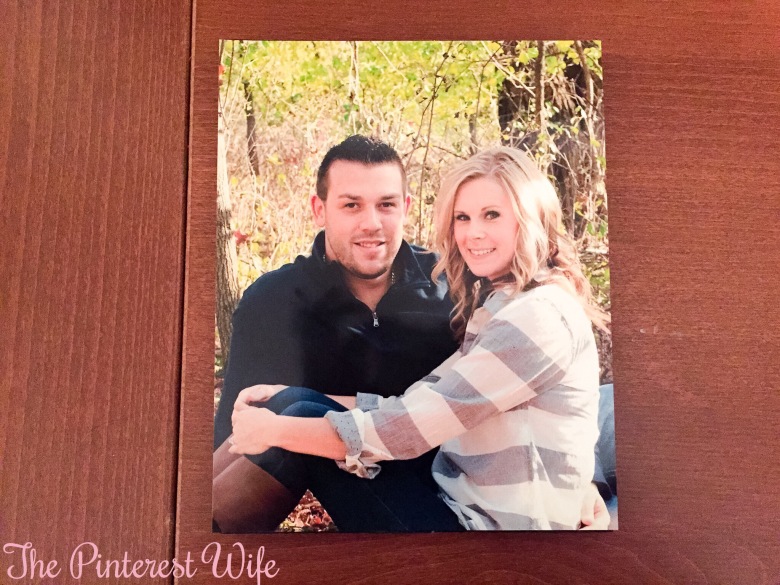
- 8×10 photo
- Black Paint
- Foam Brush
- Mod Podge
- Exacto Knife
- Ribbon, Picture Hanging Bracket, Easel
Instructions
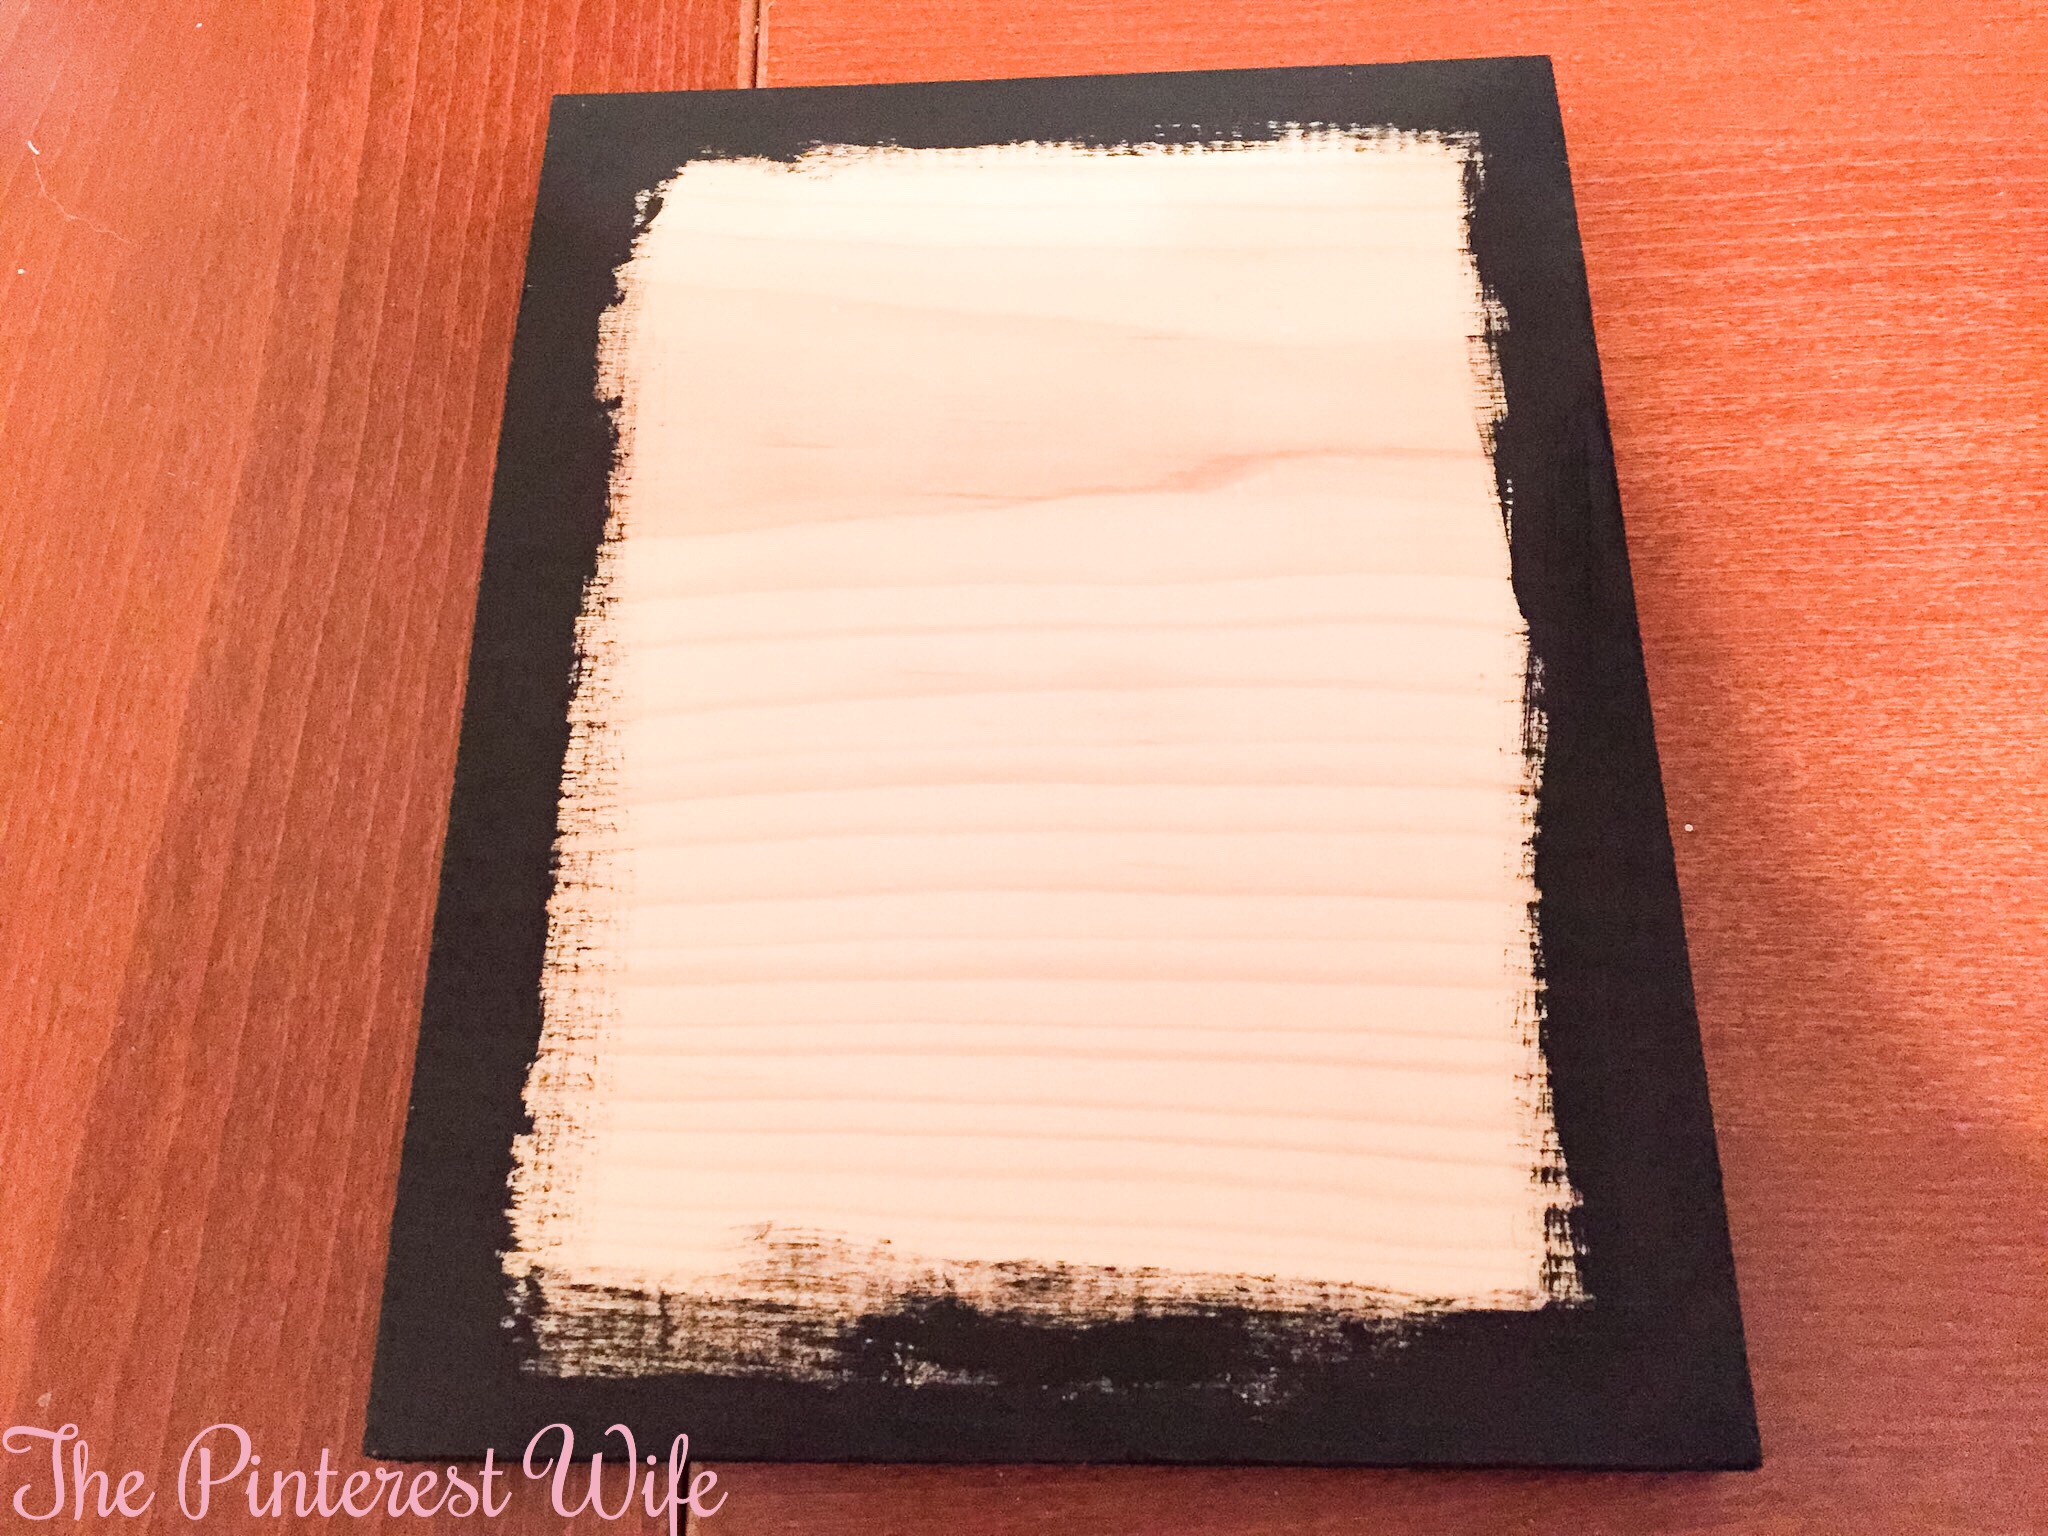
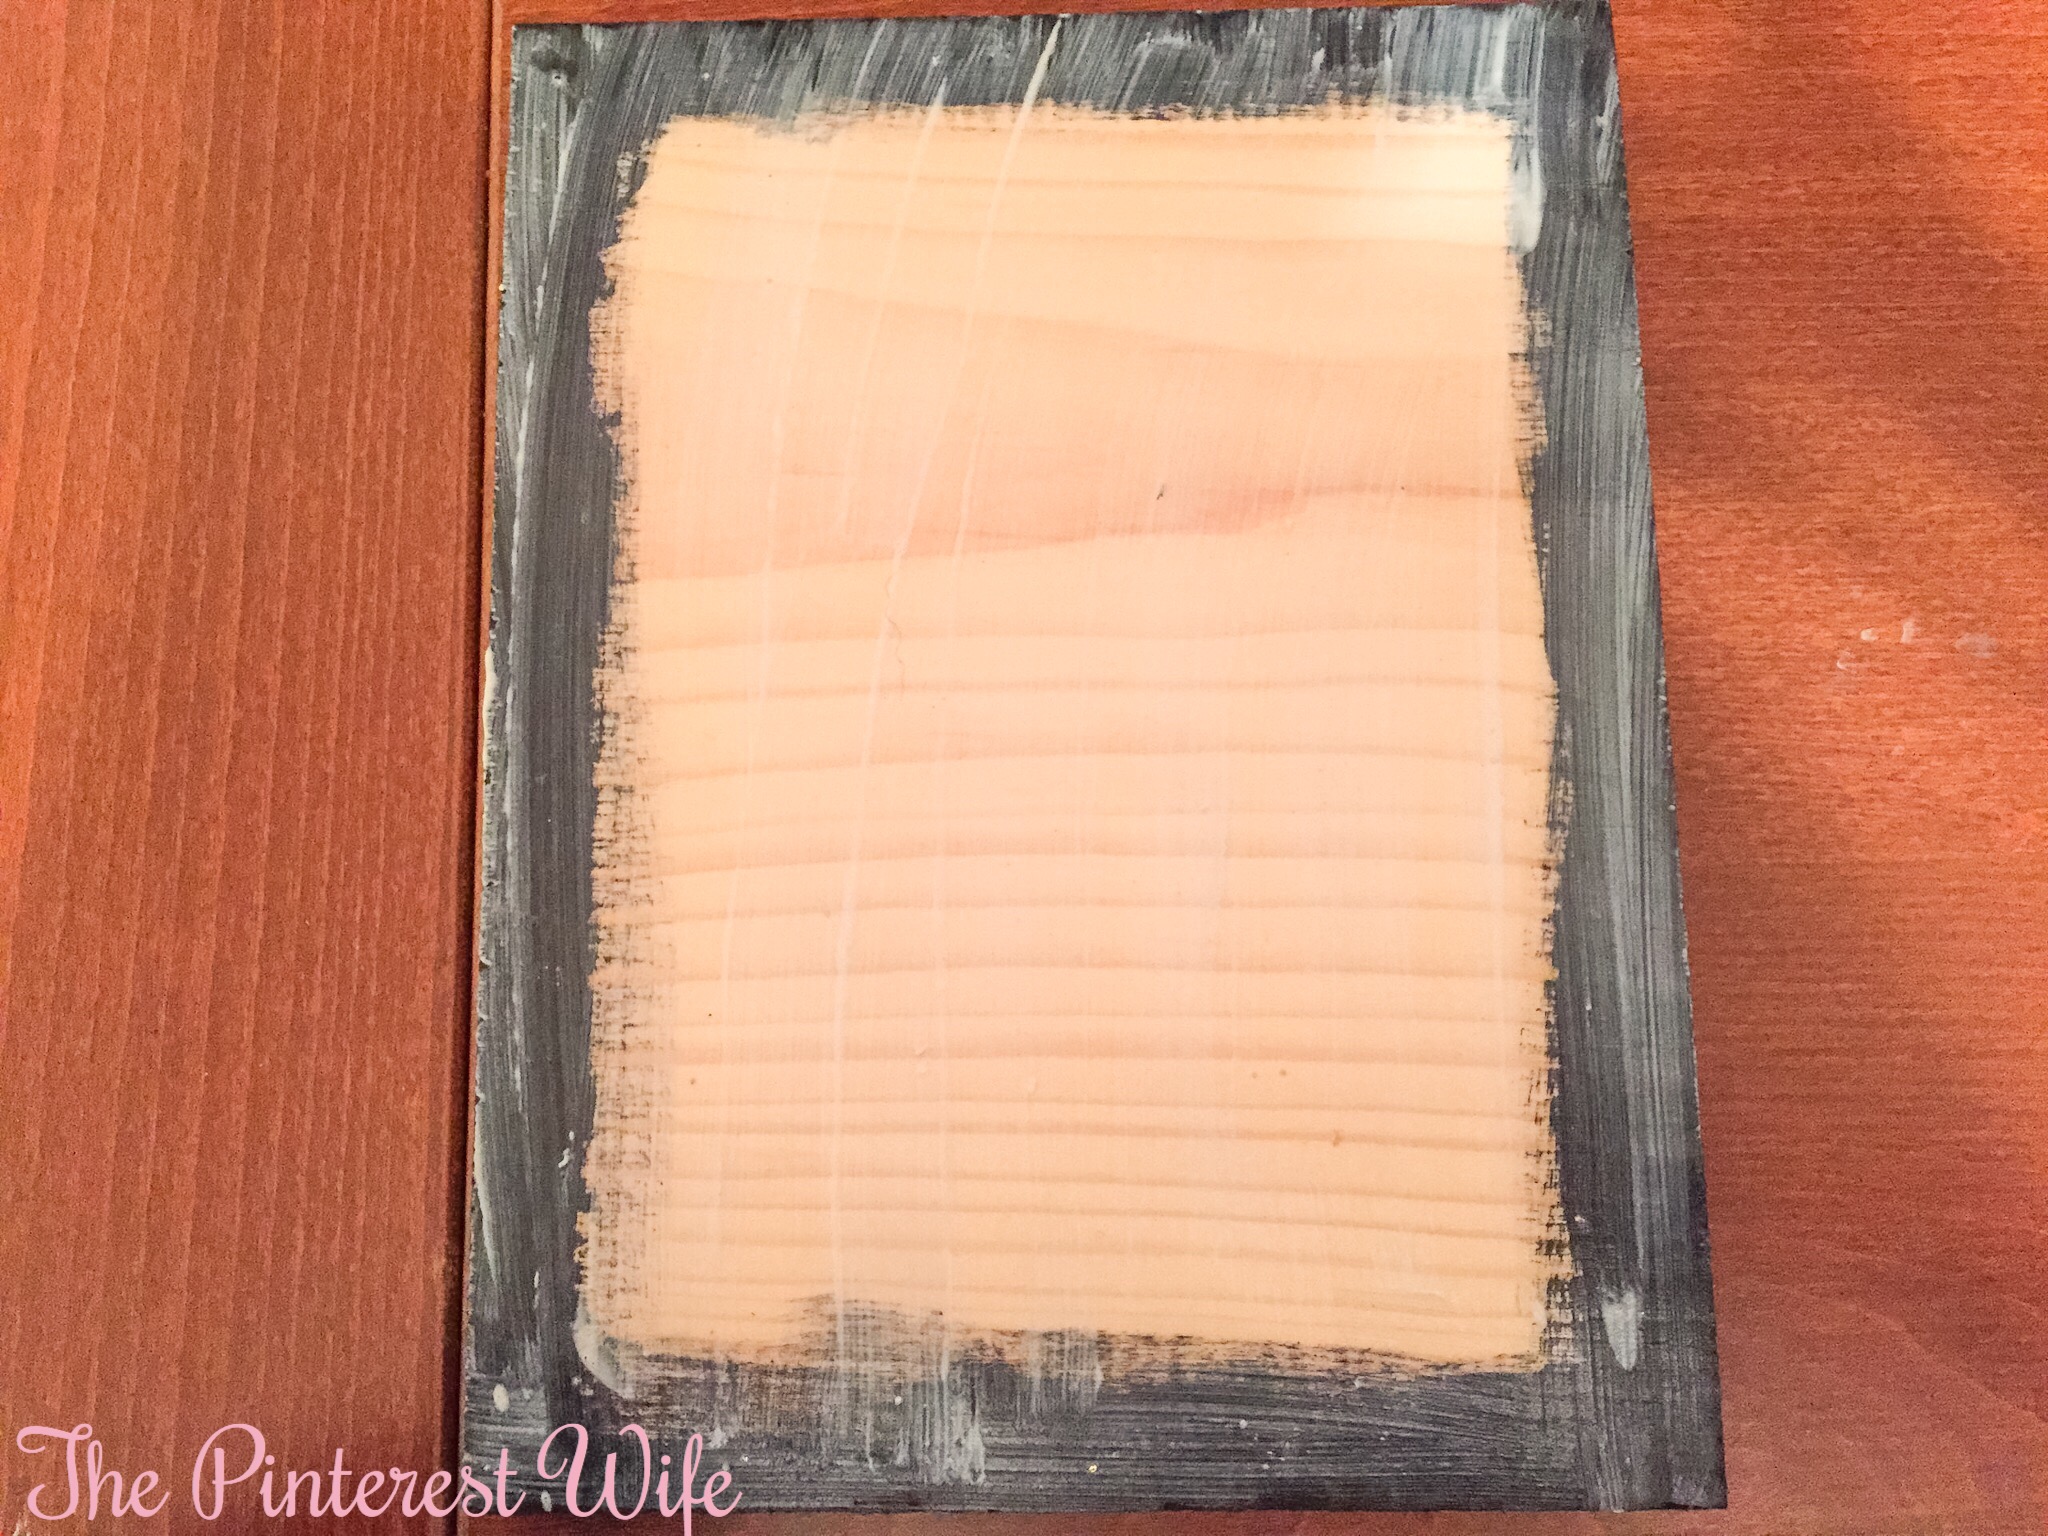
- Paint the border of your wood piece and ~1″ perimeter of the side you’re going to mount the picture onto

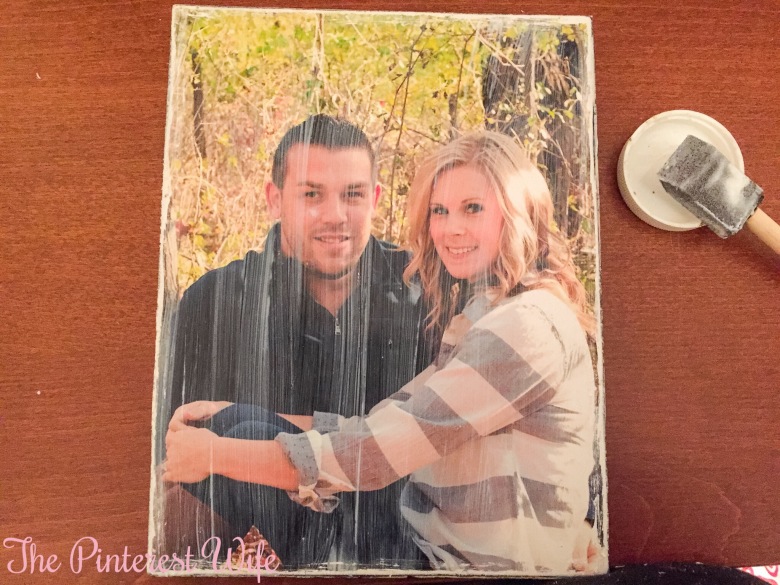
- Apply an EVEN layer of Mod Podge to the wood piece with a foam brush

- Center your photo on the wood and smooth out any air bubbles
- Flip the wood piece over, picture side down, on a cutting mat [Note: make sure your mat is clean so you don’t get any icky stuff on your picture]
- Trim off any part of the picture hanging over the edges using an Exacto knife
- Optional: Using a pair of scissors or your Exacto knife, run along the blade along the edges of your picture to give it a distressed look.
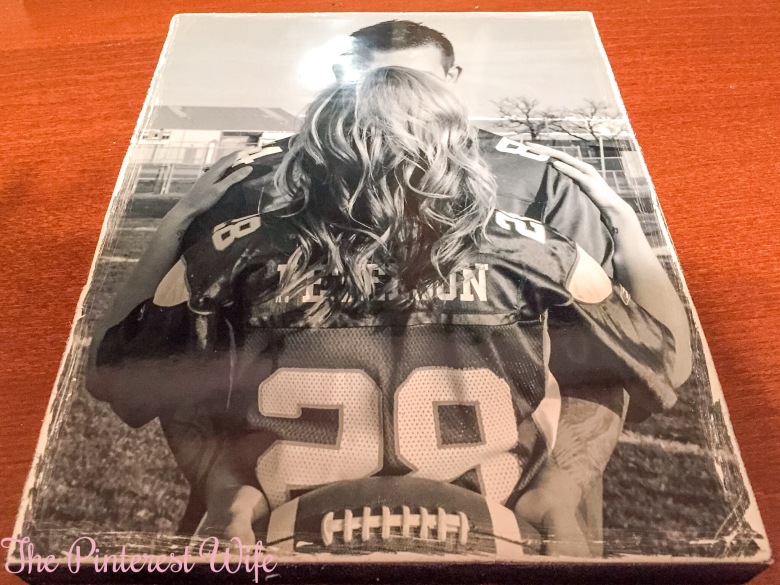
- Apply 2, thin, even coats of Mod Podge over the top of the picture, allowing to dry in between coats
- Screw a picture hanging bracket onto the back of the picture or use a staple gun to attach a ribbon to the back (Tied with a bow on top) to hang the picture with. You could also omit this step and display your picture on an easel.
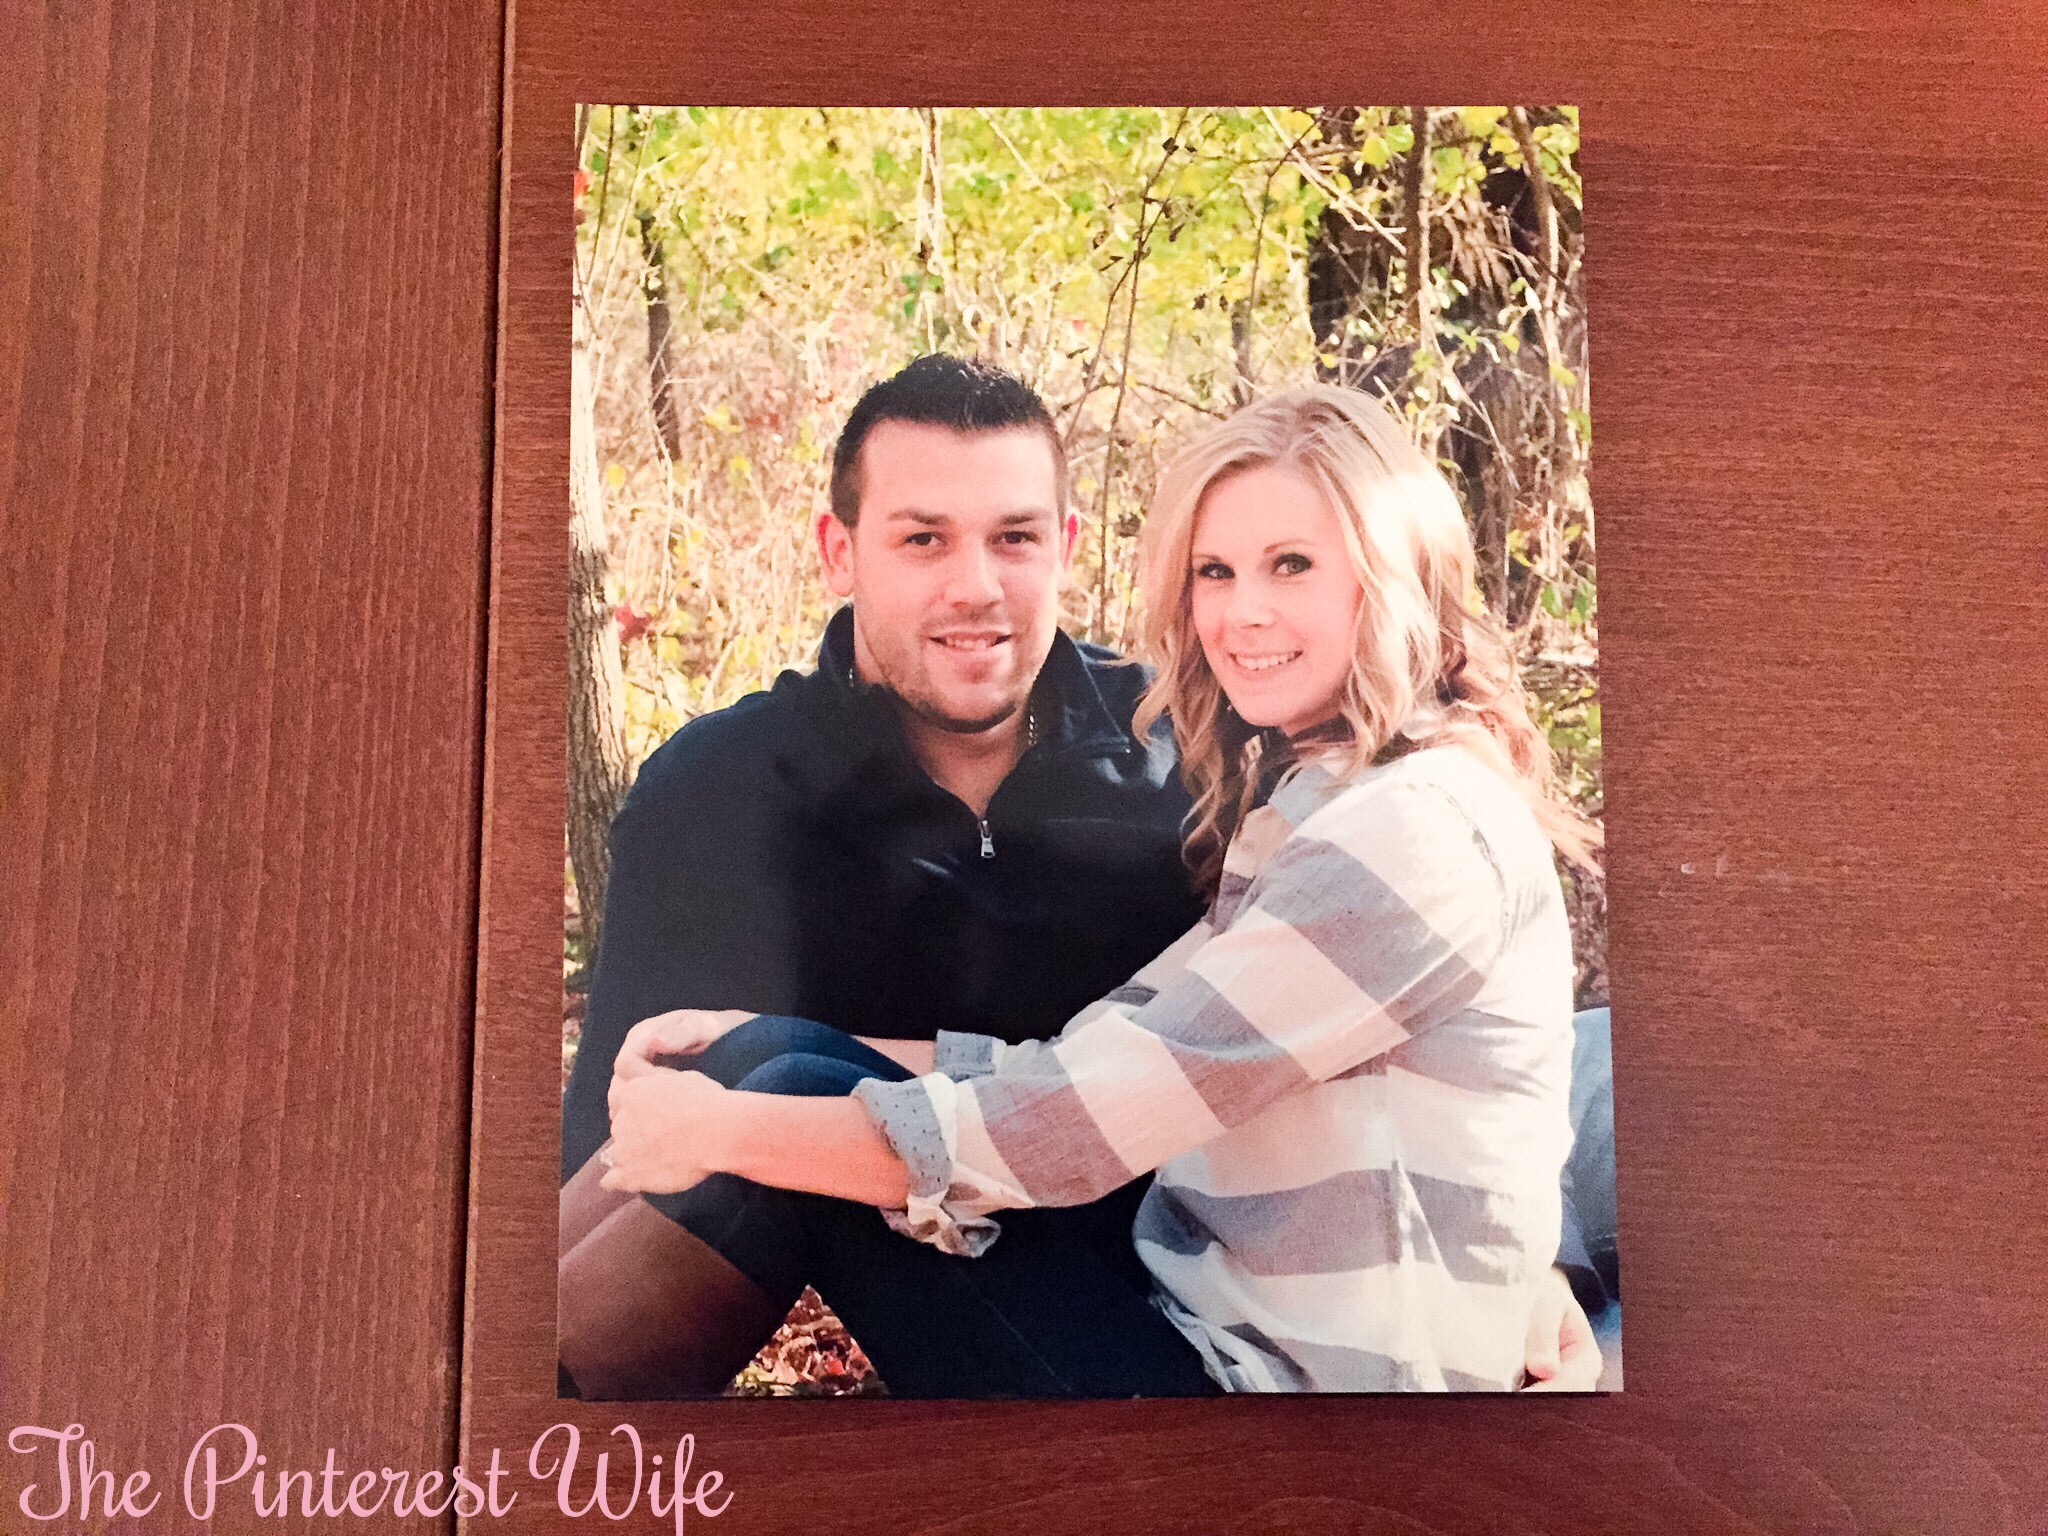


Like I said, this project is beyond easy and way cheaper than having the photo mounted onto wood or canvas professionally.